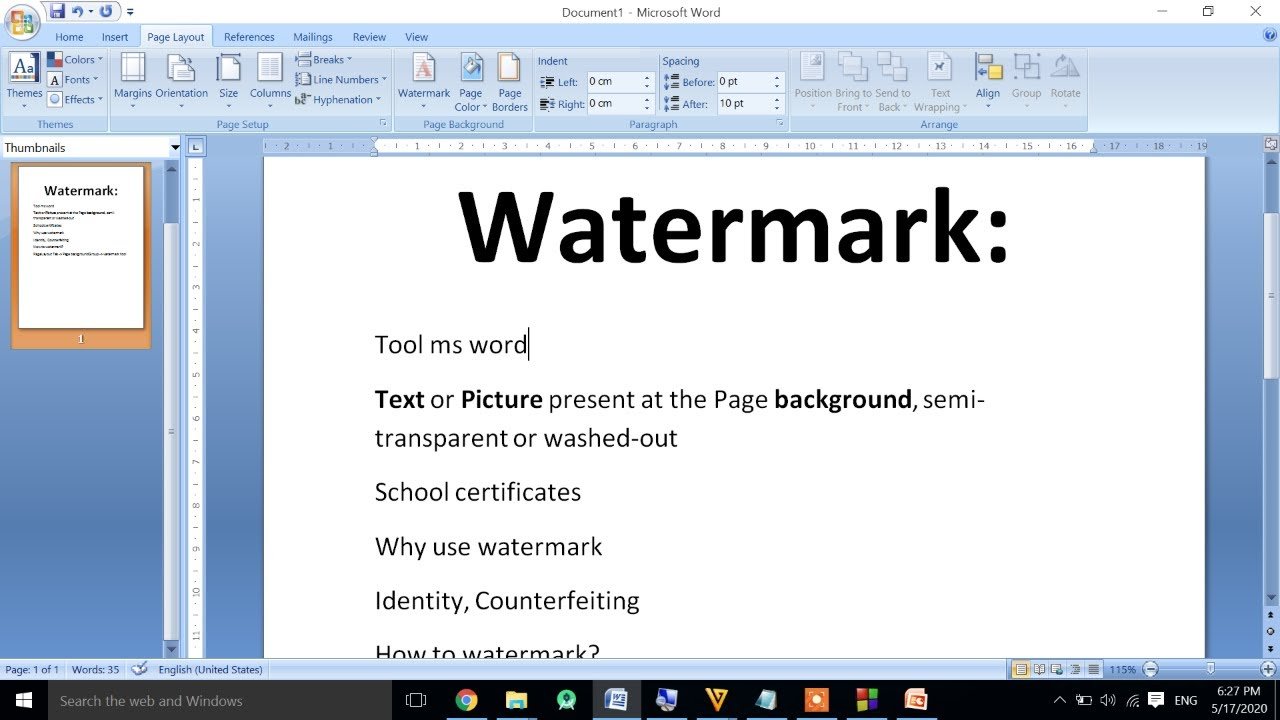
The ability to add a watermark to PPT is functional. Watermarks are inconspicuous symbols that improve your presentations by including branding or offering protection from unlawful usage.
Inserting text or picture watermarks in PowerPoint is a simple process. Seamlessly integrating them with your presentations is made possible by customizing their look, including text, size, color, and transparency. Strategically placing the watermark guarantees it is visible without detracting from the content.
Applying it universally to all slides is optional but can maintain consistency. Finally, saving your presentation preserves the changes made. Mastering this process empowers you to create professional presentations while safeguarding the integrity of your content.
Understanding Watermarks
Understanding watermarks is essential for effective presentation management. These subtle overlays serve multiple purposes, including branding and content protection. In presentations, watermarks typically consist of semi-transparent text or images.
You can ensure they complement your slides seamlessly by customizing their appearance, such as font, size, color, and opacity. Watermarks can be deliberately placed at the bottom or corners to preserve visibility without drawing attention away from the primary information.

Step-by-Step Guide to Adding Watermarks in PowerPoint
Step 1: Open Your PowerPoint Presentation
Unlock the gateway to watermarking by launching your PowerPoint presentation. Ensure permissions for editing are at your disposal.
Step 2: Insert a Text Box or Image
Add a text box or an image to your slide to commence the adventure. Select “Text Box” for text watermarks and “Pictures” for picture watermarks by going to the “Insert” tab.
Step 3: Customize Your Watermark
Infuse personality into your watermark by customizing its appearance. Tweak the font, size, color, and transparency until it seamlessly integrates with your presentation.
Step 4: Position the Watermark
Guide your watermark to its rightful place on the slide. Typically, corners or the bottom center serve as prime locations. Ensure visibility without overshadowing vital content.
Step 5: Apply to All Slides (Optional)
Should the need arise for uniformity, bestow the watermark upon all slides. Right-click on the text box or image, delve into “Format Object,” then bestow its presence upon “Slide Background Fill” and “Apply to All.”
Step 6: Save Your Presentation
With the watermark adorning your slides, secure its existence by saving your presentation. Opt for a compatible file format. PPT, and designate a fitting file name and storage location.

In summary
In conclusion, effectively learning how to Add Watermark to PPT presentations is critical. Among the many uses for watermarks are branding and content protection.
Through comprehension of their importance and adherence to a systematic approach, you may effectively include watermarks in your presentations. By dressing them differently and placing them in key locations, you can ensure they add a professional touch to your presentation without removing the information.
Add Watermark to PPT to provide your presentations with additional protection and identify whether they are a copyright notice or your company’s emblem. Seize the chance to add a subtle yet decisive touch to your presentations, ensuring your material is secured and stands out.
FAQs
Can I eradicate a watermark once it's embedded?
Certainly! The watermark's presence is not etched in stone. Select the text box or image housing the watermark and employ your keyboard's trusty "Delete" key.
Is it plausible to grace a presentation with multiple watermarks?
Indeed! You possess the liberty to adorn your presentation with various watermarks. Add additional text boxes or images, customizing each watermark to your heart's desire.
Are there any copyright caveats to heed?
Absolutely! Respect for copyright laws is paramount. Ensure compliance with permissions and refrain from infringing upon the intellectual property rights of others when employing watermarks in your presentations.


